 Growing up I used to think that pasta was largely a sauce filled affair. The sauce was always heavy on the list of ingredients and almost a meal in itself. The pasta just served as a vehicle to get it into your mouth and the shapes never made much of a difference, they all seemed to taste the same anyway. Only until later in life did I realize that I had it all wrong.
Over the past two years I’ve spent quite a lot of time traveling all over Italy and being more and more amazed by the food. There are two things that I cannot resist – a hearty bowl of pasta and a wood fired pizza. Both of which are done best in this country in Europe’s south. I did learn quickly that my idea of Italian food did not do the real thing any justice. Very much how Indian food and Chinese food in the west are inventions loosely based on the real thing. Yes, similar ingredients are used, but somehow they never quite come together in the same way.
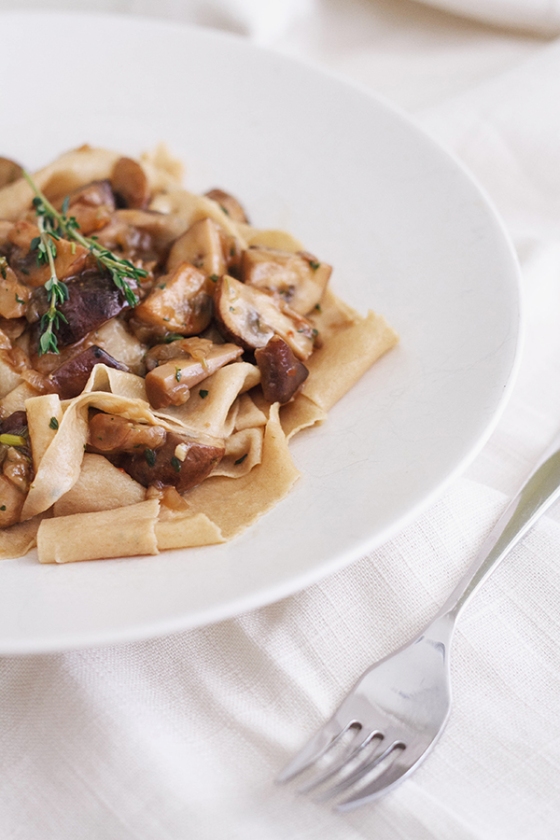
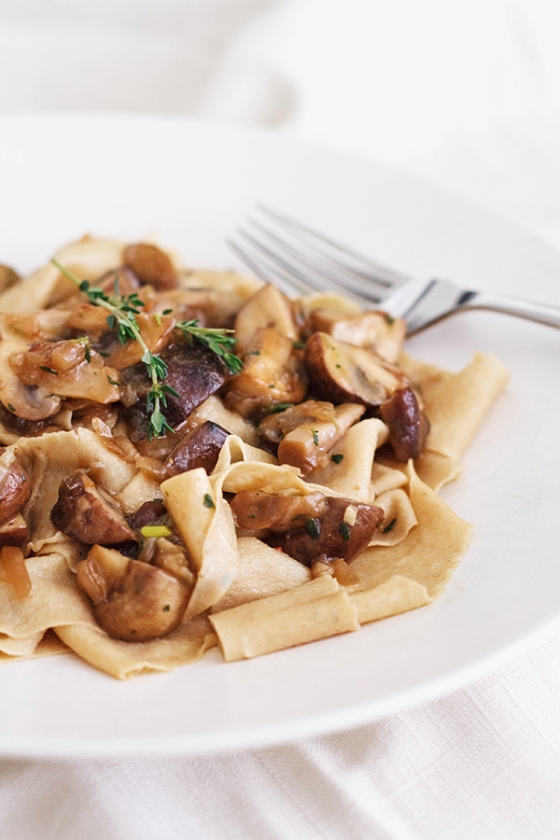
 Pasta was one of these revelations. I quickly learned that less is more in the way of pasta. Often a 3 ingredient sauce packs so much flavor that I have no idea why any more ingredients would at all be necessary. The shapes of pasta are very much suited to specific sauces and they always seem to compliment each other perfectly. One of my favorites has to be pappardelle. Especially fresh pappardelle! I love the wide noodles and how they soak up just enough sauce in every bite. I think that they’re always suited best to ragu of some sort. Wild boar, lamb or mushrooms are always a good choice in my mind.
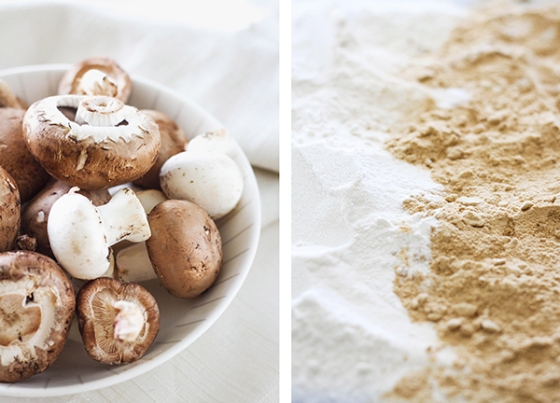
For this recipe, I wanted to change things up just a slight bit. Instead of creating the pasta dough as usual, I toasted a small portion of the flour beforehand and incorporated that into the final dough. The result was a lightly nutty flavor which really compliments the mushrooms. As for the mushrooms, I mixed and matched whatever I could find. A few cremini, shiitake, portobello and white mushrooms were what I had on hand that day, however, when they are in season, chanterelles would be lovely too.
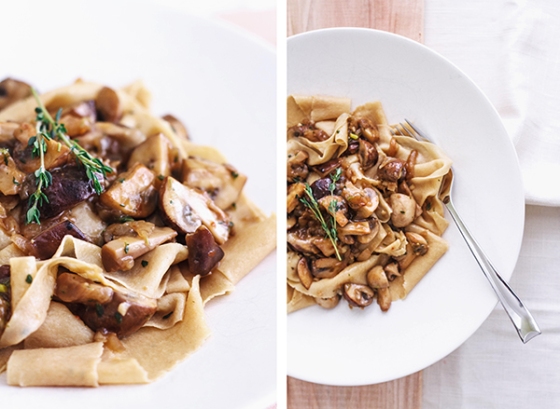
Toasted Pappardelle with Mushroom Ragu
Serves 4
Pappardelle
- 1 3/4 cup all purpose flour
- 1 cup semolina flour
- 6 large eggs
- pinch of salt
- 2 tsp olive oil
Mushroom Ragu
- 1 medium onion, finely chopped
- 16 oz mixed mushrooms (cremini portobello, white button, shiitake), quartered/ cut to similar sizes
- 2 tbsp olive oil
- large pinch red chili flakes
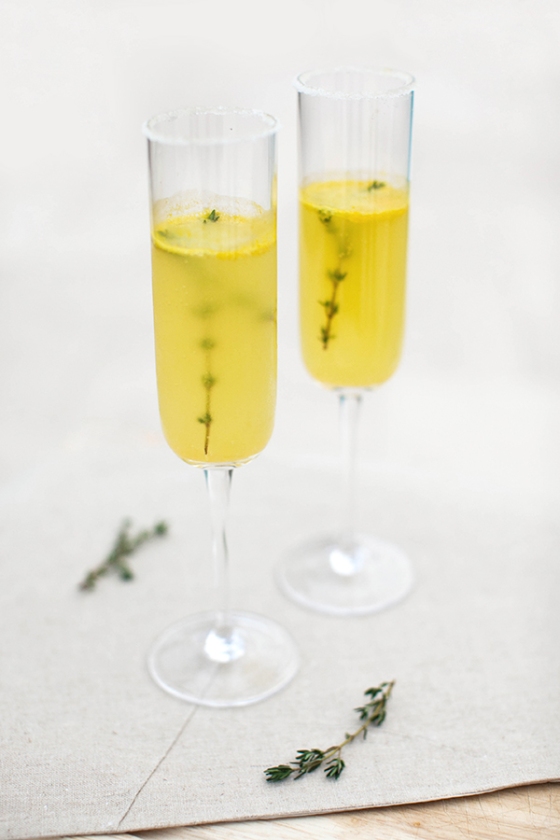
- 1 tbsp chopped fresh thyme
- 2 cloves garlic
- 1 cup vegetable stock
- salt and pepper to taste
Get started with the pappardelle first. Heat the oven to 375°F/ 190°C. In a large bowl, sift together the all purpose flour and semolina flour. Take 1 cup of the flour mixture and evenly distribute onto a baking sheet. Place into the oven and roast for about 20 minutes until golden brown. Let cool completely and then mix together with the remainder of the combined flour mixture.
Make a well in the middle of the flour and add the eggs, salt and olive oil. Using a fork to start, whisk the eggs and gradually combine the wet and dry ingredients – changing to a spoon or your hands as the mixture gets thicker. Once combined, remove from the bowl on to a clean, flat surface and knead until smooth and elastic. About 4-5 minutes.
Cut the dough into 6 even sections and place back into a covered bowl until ready to use. The dough at this point can be rolled and shaped, refrigerated for a couple days or frozen for a couple months. Using a pasta roller, roll out the dough into long sheets. The dough should be thin enough to see your fingers through. Usually the second to last setting will get you this result. Don’t be afraid to use lots of semolina flour so things don’t stick. Cut into 3/4 inch / 2 cm wide sections and dust generously with semolina flour and place on a covered baking sheet. Continue the process with the rest of the dough and cover until ready to eat. At this point, the pasta can be refrigerated or frozen to be used at a later time*.
For the mushroom ragu, heat a wide sauté pan to high heat and add the olive oil. Add in the onions and sauté until soft, about 3-4 minutes. Add the mushrooms and sauté for a further 6-8 minutes until the liquid has evaporated and the mushrooms are lightly browned. Add in the chili flakes, thyme, garlic and cook for a further 2 minutes. Next, add the vegetable stock and turn down the heat to medium. Simmer until the liquid has reduced by over half. Season with salt and pepper to taste.
While the ragu is cooking, heat a large pot full of water to boiling. Add a few generous pinches of salt. Cook the pappardelle till al dente in batches making sure there is plenty of water for the pasta to move around in. Immediately toss with the pasta and eat while hot. Garnish with parmesan or a few sprigs of thyme.
*this recipe makes more pappardelle than you will need. Freeze the rest for next time or refrigerate for another day. It tastes great as leftovers or a quick meal when you have little time!
 Somehow I’ve found myself back in the freezing cold of America’s Midwest. Originally I came to join my husband on his business trip, but that all went a bit wrong and now I find myself here for two weeks without him. This is less than ideal, but sometimes you can plan all you want but things won’t always turn out how you wish. There is however, an upside. I was able to well and truly surprise my mother for her birthday and now have two weeks to spend with my family and friends. I suppose everything happens for a reason.